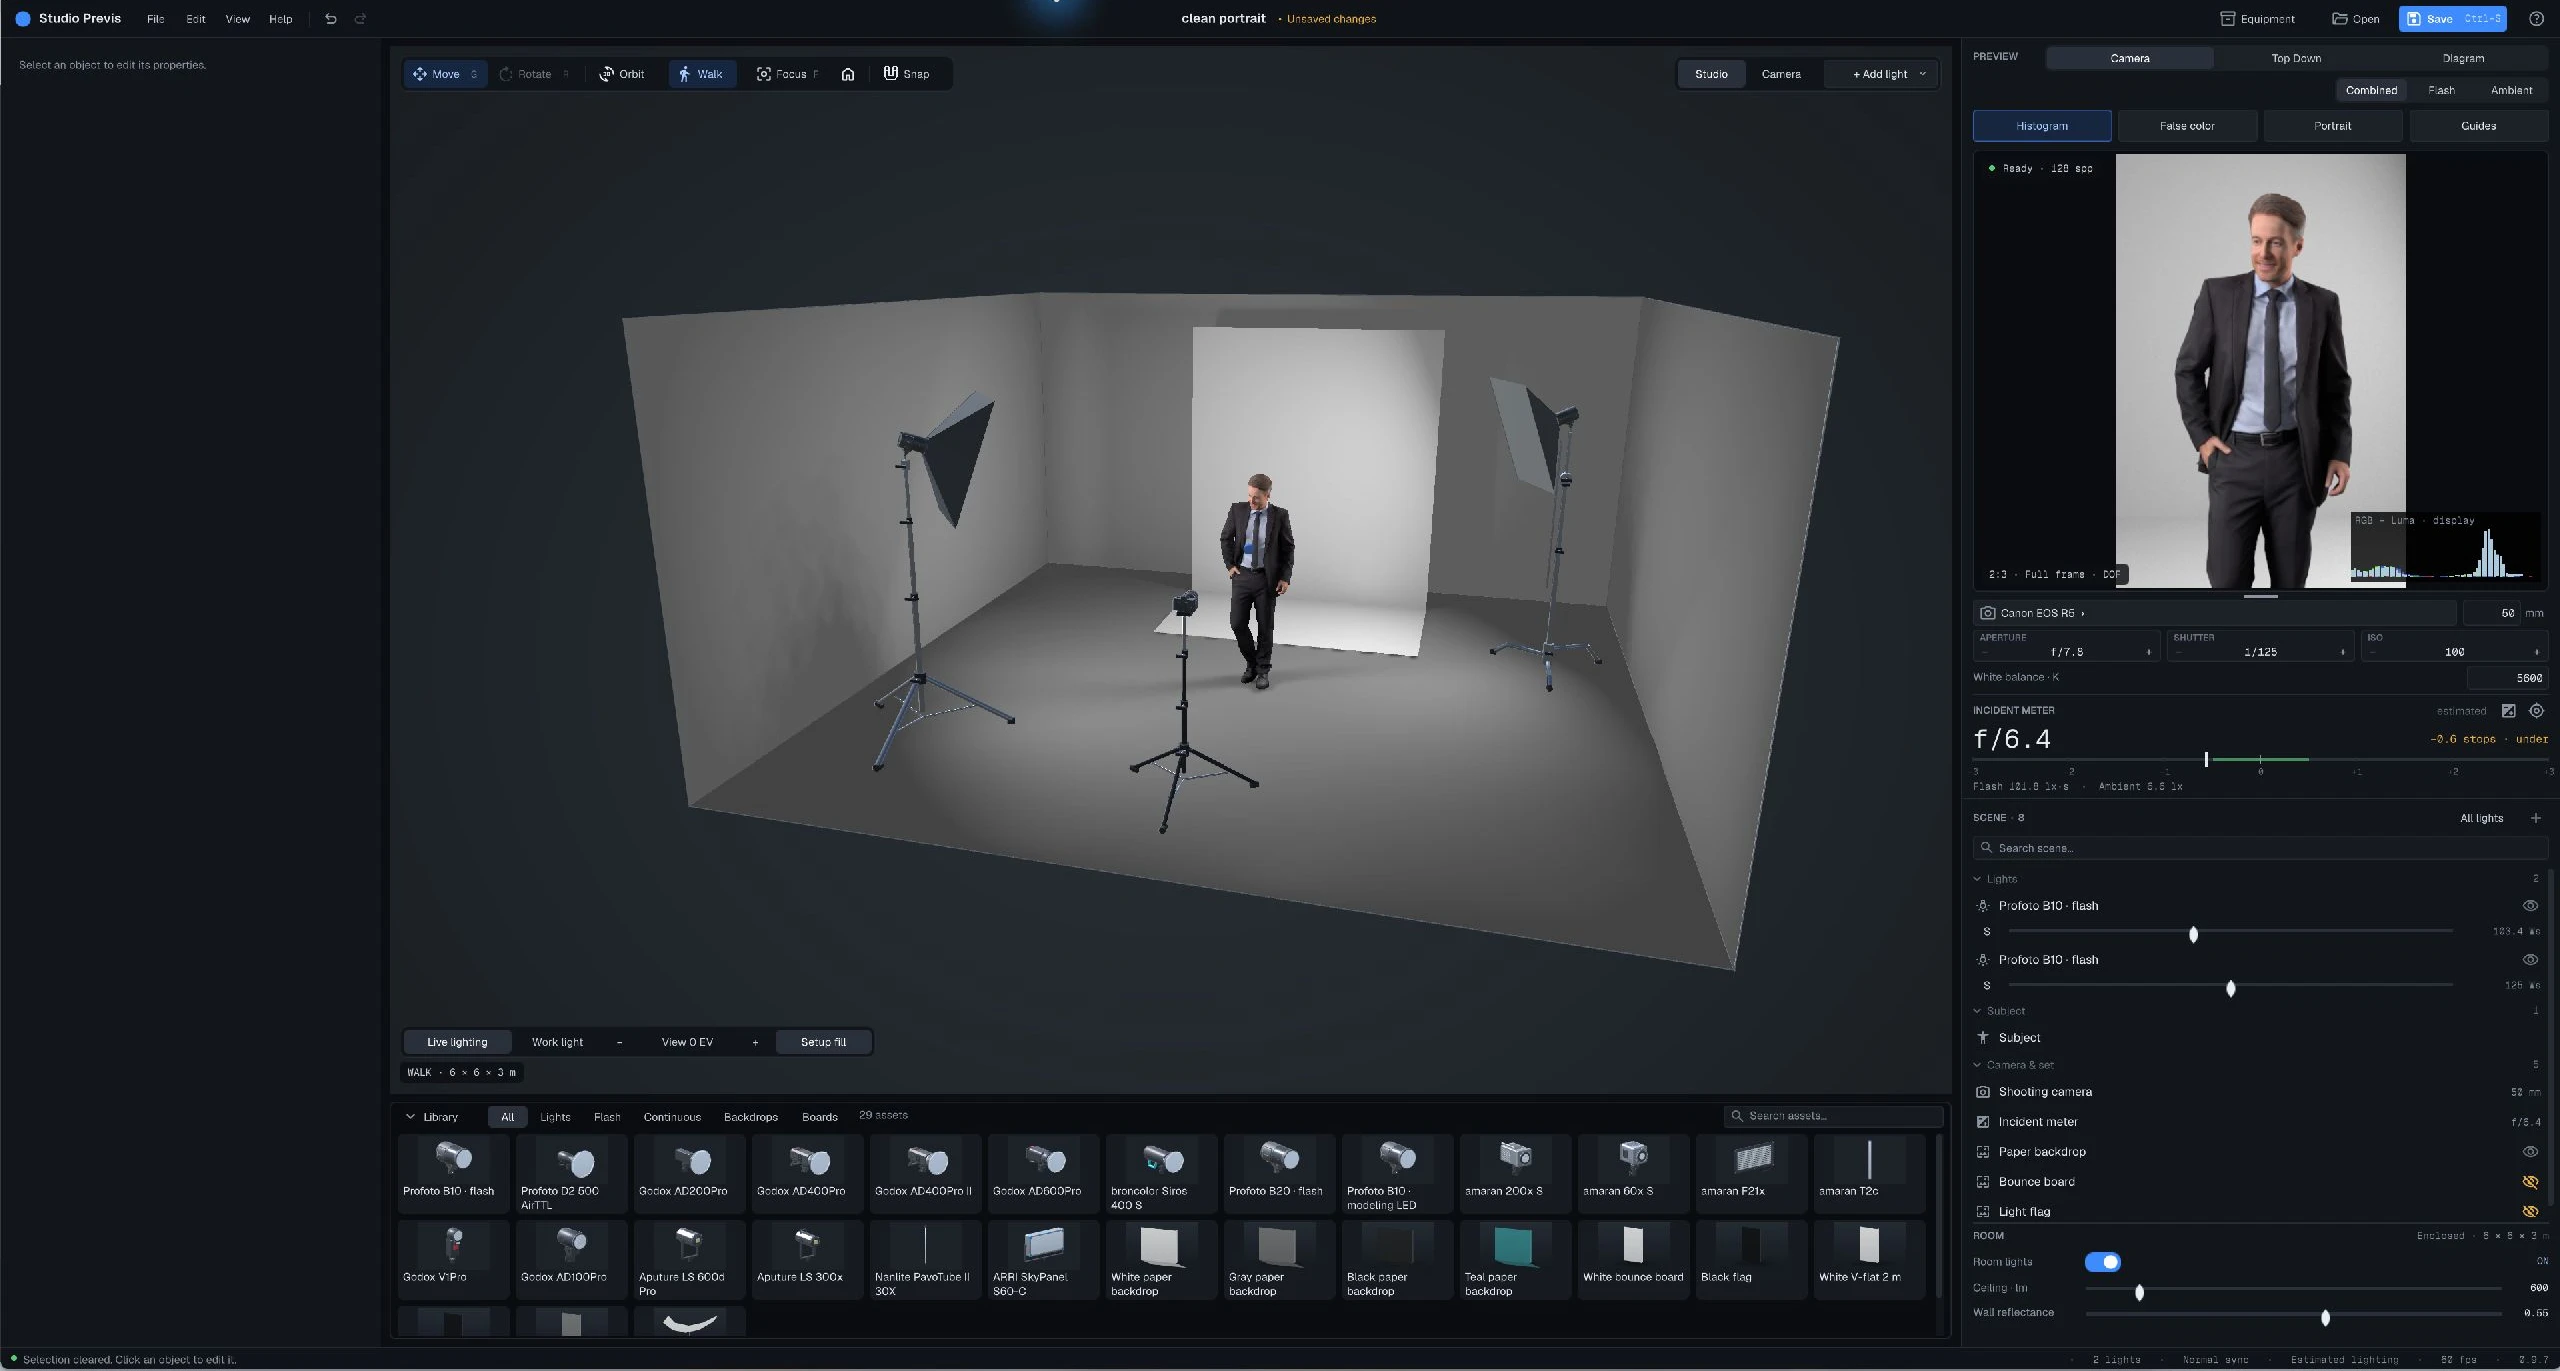
-
1
Check your computer
During beta, compatibility and performance guidance will evolve as we test more computers.
Not sure about your computer? Email support@lightkitpro.com with your operating system, processor, graphics hardware and installed memory.
Windows
- System
- Windows 11, 64-bit recommended
- Processor
- Intel or AMD x64
- Graphics
- Direct3D 11 with compute-shader and floating-point texture support. Hardware ray tracing isn't required.
- Memory
- 16 GB RAM recommended. Minimum still being evaluated.
- Storage
- At least 2 GB free for the beta, plus space for saved scenes and exported images
macOS
- System
- macOS 12 Monterey or later. Tested on macOS 13.7.8 Ventura (Intel); other versions still being evaluated.
- Processor
- Universal build for Intel and Apple silicon. Apple-silicon testing is still being documented.
- Graphics
- Metal-capable graphics supporting compute shaders
- Memory
- 16 GB RAM or unified memory recommended. Minimum still being evaluated.
- Storage
- At least 2 GB free for the beta, plus space for saved scenes and exported images
A keyboard and mouse with a scroll wheel are recommended. Preview and export speeds vary with graphics hardware, render settings and scene complexity; a universal graphics-memory minimum hasn't been established yet.
You don't need Unity or Unity Hub. The beta doesn't need a continuous internet connection; downloading, updates and online resources do.
2Join the waitlist
Leave your email and we'll send a beta invitation when a spot opens. Invitations go out in stages.
You're on the list.
We'll email {{ email }} when a beta spot becomes available.
Waitlist signups open soon. Please check back.
3Download and install
Invited testers get a download link by email. On Windows, extract the entire ZIP before launching and keep the app with its folders. On Mac, follow the instructions included with your build.
Some beta builds may still show the earlier name, Studio Previs.
Installer size and version: TBC
Quick start
Light your first scene.
- 01Start a new scene.
- 02Drag a light and a modifier from the equipment library into the studio.
- 03Use the handles to move it, raise it, and set yaw and tilt.
- 04With the light selected, set power and color temperature. Solo it to see what it adds.
- 05Set exposure, white balance and focus, then compare the studio with the photographic preview.
- 06Save the scene, take a snapshot, or export the preview as a PNG.
Tip: working in a dark set? Turn on Workspace Setup fill to see your equipment. The photograph stays the same.
Read the full quick-start guide →Help
Need a hand?
Documentation Panels, controls and saving, explained. Contact support Report a problem or share beta feedback. FAQ Platforms, hardware, accuracy, exports and the free beta.Good to know
Lighting, meter readings and previews are estimates for planning — not calibrated to specific manufacturers' equipment. Posing, custom model importing, cloud collaboration, animation, volumetric fog and diagram export aren't currently available.
{{ box.label }}Drag to pan
{{ toastMsg }}